|
In this video installment of the Teach with Passion series, you will learn how to teach goal setting and organization to your violin students by using a calendar and working backward. Not a teacher? Not a problem, this is still great content to help you streamline your goals and clarify your focus. You will find it especially useful if you are preparing for a performance. Plus, I also share what I think is the big secret about the work we do as violin teachers: We are not just teaching the VIOLIN. We are not just teaching MUSIC. 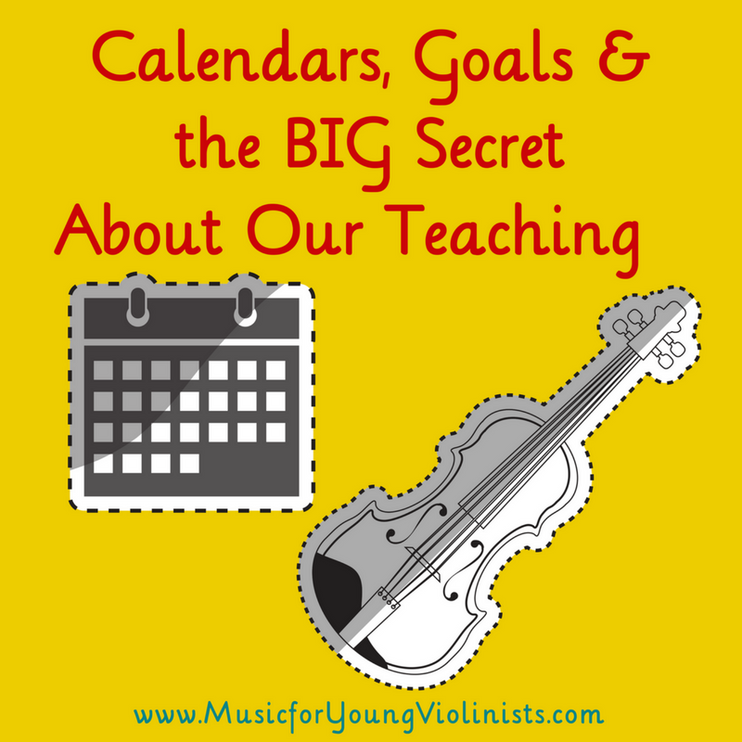 We are teaching our students LIFE. That is the “BIG secret” alluded to in the title and more specifically that by teaching our students to have success with their violin skills and musical expression we are sharing with them a template for how to have success in other areas of their life as well. One way we can do this is to set goals and use a calendar to create a plan for how to turn these goals into a reality. Goals are like GPS coordinates for your dreams. All of my advanced and older students get a hard copy of a 9 month calendar at the beginning of the school year and we sit down together and write in all of the performances, dress rehearsals, group classes and auditions. Then, we work backwards from this structure to plan in our musical goals in order to best prepare for them and have success. For my younger or less advanced students, I give them a 3 month calendar in the months preceding our solo recital and do a shorter version of the planning mentioned above. Print out FREE PDF calendars HERE. In short, we are using music and the violin to teach our young students how to make their dreams come true and we need to offer them concrete tools in this process. Hardcopies of calendars that are organized by the teacher and student together help both parties clarify goals and create a structure for achieving success in these desired outcomes.
1 Comment
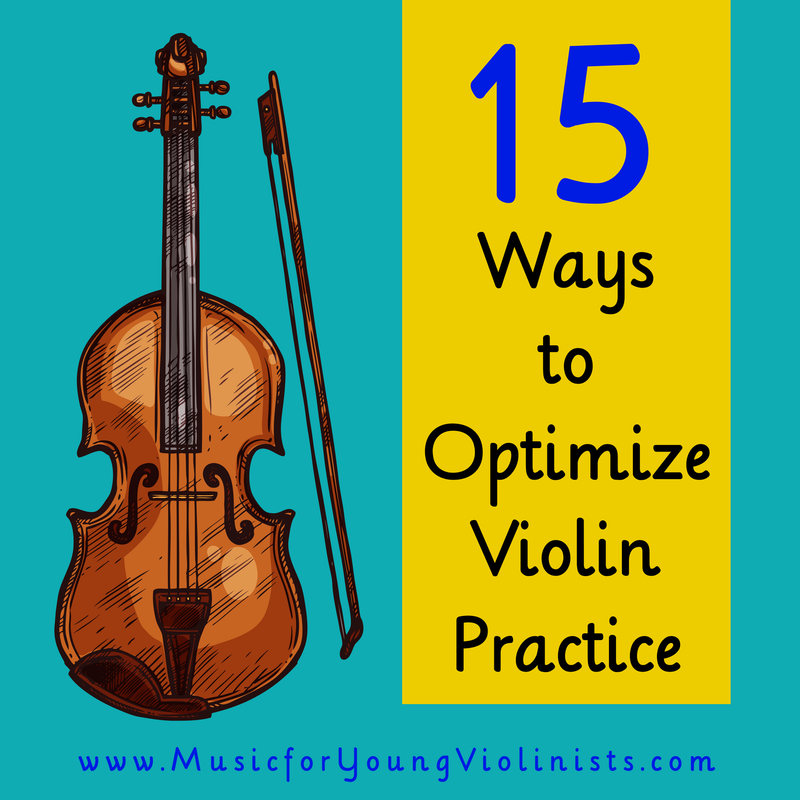
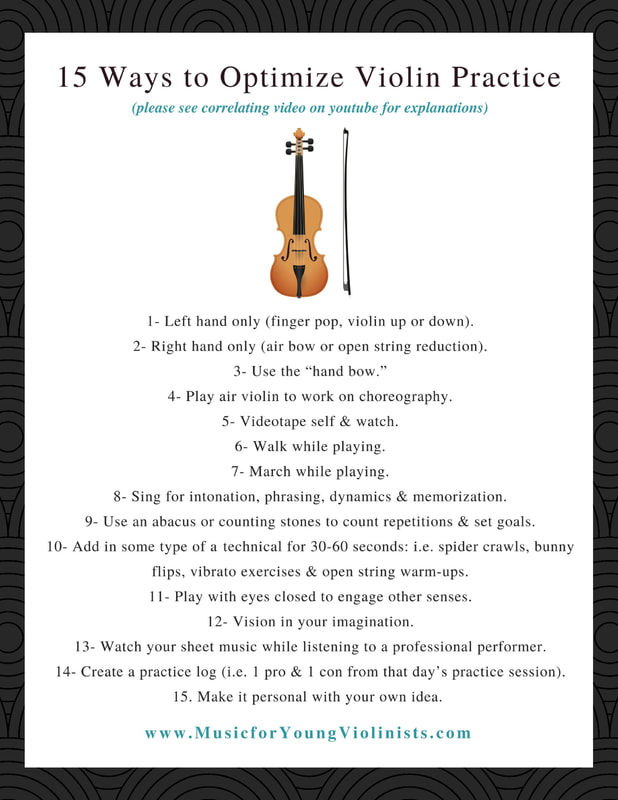
A New Approach to Teaching Violinists Vibrato Using "Cello" Position If you are like me, then vibrato has not been the easiest thing to learn, teach or practice. Occasionally, I have had a student figure out the coordination and pivot points of vibrato in a matter of weeks but that is the exception and not the norm. For most of us, the skill of vibrato seems to have a particularly long and jagged learning curve. Further impacting this is that the beginning stages of vibrato feel so awkward that it discourages students from following up their assignments during home practice delaying the development of this skill. I don't claim to have any magic wands to substitute for daily practice, devotion and desire - these things are all part of the process and have to be intrinsically motivated. I do however have an approach to teaching vibrato that may help unlock this skill for some of the violinists on this newsletter list. Over the years of teaching, playing and working thru overuse injuries, I often reflected on how unnatural playing the violin is - we defy gravity by holding it up and then make it asymmetrical by putting it on the side. It occurred to me that the reason vibrato is taught much sooner to cellists than violinists is that cello players do not have these 2 issues opposing ergonomic body movements. With a few adjustments, we as violinists can replicate this symmetry and work with gravity by sitting down and starting our vibrato exercises in "cello" position. If you are struggling to master your vibrato or dissatisfied with your teaching protocol or just in love with learning, you may benefit from the approach to teaching vibrato using "cello" position demonstrated in more detail on this video. Also included in this video is a successful way to relay vibrato skills to younger students using the power of story telling so they can be independent and accurate in their home practice. Are you seeking more support in your home practice routine or more tools in your teaching toolkit? Be sure to check out my video/blog post and free PDF download 15 Ways to Optimize Violin Practice HERE. If you have followed this project for a while you may know that one of the most profound things I ever did in my teaching career was to spend a week watching my students practice. You can learn more about what I discovered and how it was arranged here on The Practice Experiment. The 15 Ways to Optimize Violin Practice list and correlating video was created as a response to watching my students practice. Too often students were working hard but not progressing as far as they should because they were not practicing the right way. This list and video will help any violinist make better use of their practice time and reach their goals more efficiently. Teachers - you can use this to better support teaching technique, as a reference to share with your students and for professional development to expand your skills. Students - you can use this to help you practice more efficiently. Practicing smarter will help you progress faster. My passion is taking my 20+ years of teaching experience and helping you know the fastest path to success thru the trials and errors I had working with students these past 2 decades. Parents of young musicians - I know that one of the hardest jobs for you is keeping momentum in your home practice routine. Peruse the ideas on 15 Ways to Optimize Violin Practice and use the appropriate ones for your child to help keep practice creative, fresh and engaging with some new ideas. Print out the list below and keep in your violin folder as a reference. Please note, some things on the list may not be clear to you until they are demonstrated in the accompanying video. Scroll down to download this PDF
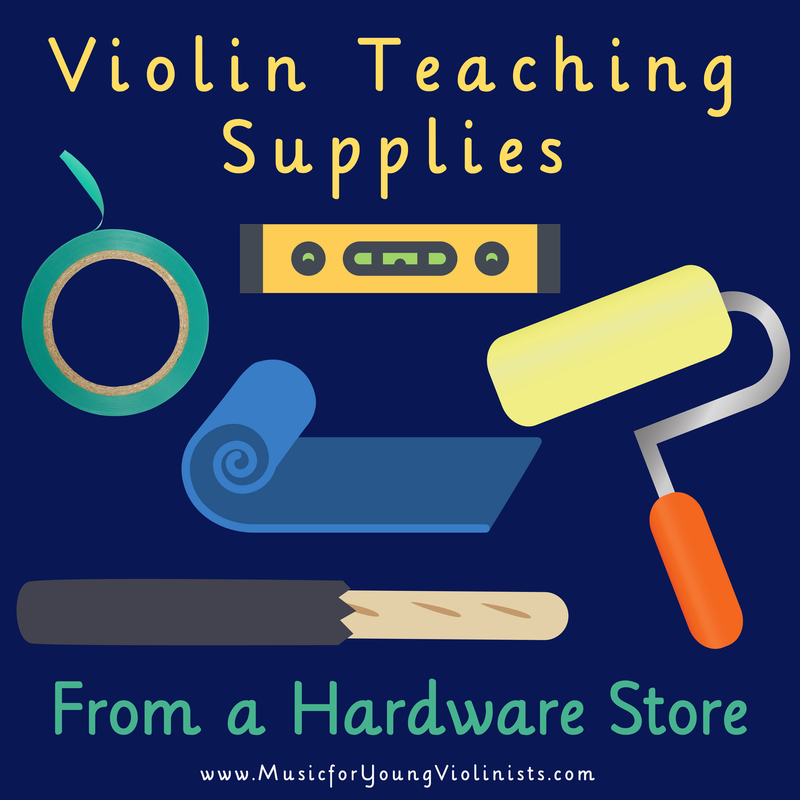
Many of you are preparing for a new school year and this list shares 5 surprising items that you can purchase from the hardware store and use as violin teaching supplies. The bigger message than the specific 5 items on this list is to think outside the box. This will keep your creative process activated as the violin teacher and will keep the learning process fun and exciting for the violin students. The correlating video demonstrates how to use these supplies for teaching the violin in more detail than the list below. 1- Painters Tape - A Violin Teacher’s Best Friend.
2- Paint Roller
3- Level
4- Bathmat
5- Paint Mixing Stick
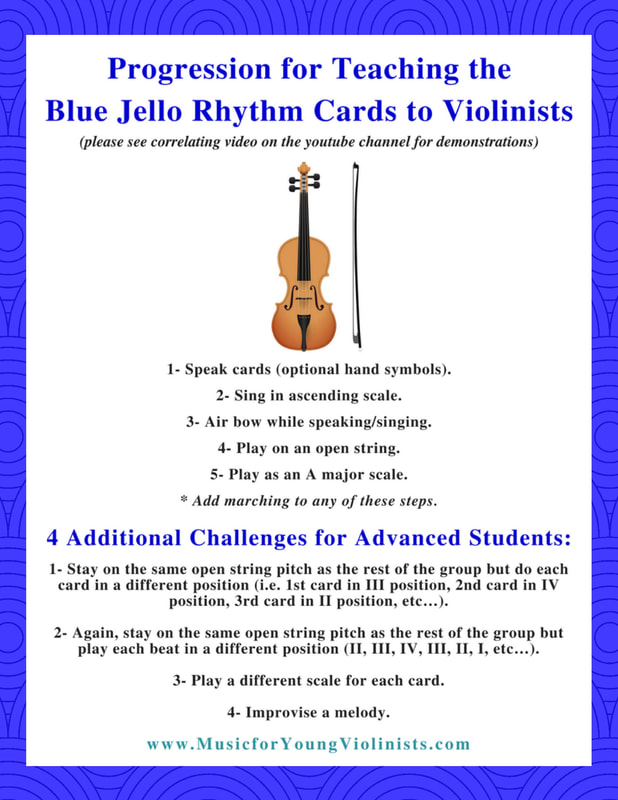
What creative items do you use in your teaching? Please share in the comments below, thanks! Music Mind Games is a music theory curriculum created by Suzuki Piano teacher Michiko Yurko and involves a series of colorful materials and progressive games for teaching music theory to children. The entire curriculum is one of the best I have ever seen for effectively teaching complex concepts in natural ways that are developmentally appropriate for children. As I progressed in my violin teaching career the reality of limited time pushed me to narrow my music theory offerings and the one thing I kept teaching consistently from the vast Music Mind Games curriculum was the Blue Jello Cards used for teaching rhythm note reading. I developed a 5 part approach for using these for violinists and also 4 challenges to engage and integrate my more advanced students in multi-level teaching situations. On a fun, personal note I credit the effectiveness of the Music Mind Games curriculum for spawning my career as a composer. After many years of teaching the basics using the Blue Jello Cards, my rhythmic dictation got so strong that when I traveled to different countries I would transcribe different languages into rhythms in my head. In this video learn a progression for using the Blue Jello Cards from the Music Mind Games curriculum in a way specific for benefitting violinists. The progression shared in the video is: 1- Speak cards (optional hand symbols). 2- Sing in ascending scale. 3- Air bow while speaking/singing. 4- Play on an open string. 5- Play as an A major scale. * Add marching to any of these steps. Have multi-level classes? Learn 4 additional ways to integrate advanced level students in a challenging and engaging way: 1- Stay on the same open string pitch as the rest of the group but do each card in a different position (i.e. 1st card in III position, 2nd card in IV position, 3rd card in II position, etc…) 2- Again, stay on the same open string pitch as the rest of the group but play each beat in a different position (II, III, IV, III, II, I, etc…) 3- Play a different scale for each card. 4- Improvise a melody. Learn more at www.MusicMindGames.com. See also: Pipe Cleaners & Music Theory/ Blue Jello Cards - Learn a cheap, hands-on, colorful and easy clean-up activity to support teaching music theory and the Blue Jello Cards to young musicians. The Magic Bag - a Metaphor for the Learning Process - Learn a "magical" way to create the identity of a learner in young students using the Blue Jello Cards. How do you teach rhythm and/or music theory in your studio? Let us know in the comments below before the next newsletter for a chance to win a set of Blue Jello Cards. Download this teaching progression chart to have for your studio here:
Almost everyone wants to play a musical instrument but the biggest hurdle is finding the key to unlock the discipline for a daily practice routine. In this blog post and correlating short video, I share my favorite practice advice and you will learn 3 things to help you unlock your practicing success. Learn: 1- The magic power to this simple advice: You don't have to like something to do it. 2- What comes & goes in life and why this matters. 3- The three things that practicing your instrument is really for:
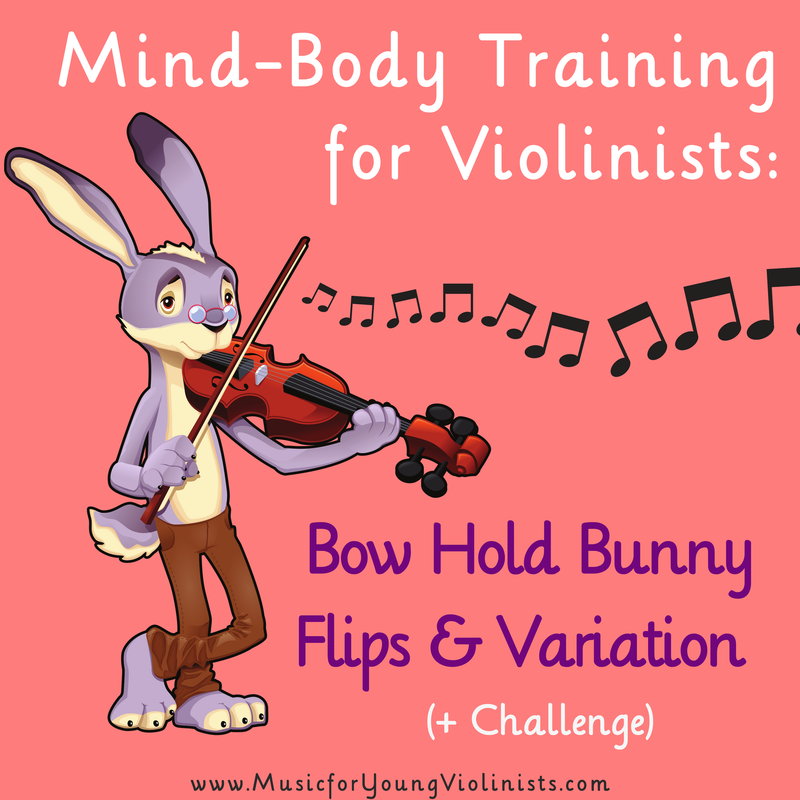
What is your favorite practice advice? Please let us know in the comments below - Thanks! Bow Hold Bunny Flips & Variation (+ Challenge) In this short video you will learn 4 things to help better train your students and keep them engaged at the same time. MIND-BODY TRAINING for VIOLINISTS: Bow Hold Bunny Flips & Variation (+ Challenge) shares:
How do you train mind-body connections in your teaching? We would love to hear any tips or tricks you have for this in the comments below thanks! There is ONLY one way to know what your students are doing at home... I spent 1 week watching my students practice and it was one of the most profound things I have ever done in my teaching. I believe that if more teachers did this then we would be able to help more students reach higher levels in their violin playing. In this video and correlating blog post I explain how I organized a week of watching my students practice and why this was such a powerful use of time. How I organized this: The week prior to watching students practice I had told them to expect something very different at their coming lesson but I did not say what it was since I wanted to observe them in their "natural practice state" as much as possible. I was hoping to avoid students preparing for this observation since it would not be an honest representation of their work and defeat the purpose. On the following week I brought my computer to my teaching studio and reorganized the space so I could sit at my desk. After explaining that I would be observing them practice, I was silent and typed up a personalized report for each student while they showed me how they practiced. We reviewed the report together at the next week of lessons and went over suggested modifications to their practice routine. It was a heart-felt but shocking and humbling week. I was touched by the loving interactions between parent and child but I was truly shocked that only about 20% of my students actually followed their practice notes (I create a personalized lesson sheet for each student to help us stay organized). Also, I was humbled that after 20 years of teaching and priding myself on being highly organized that so many of my students were not clear on: 1- What was actually expected of them. 2- How to execute the specific teaching points by themselves even after covering in repetition at their lesson I also have always assumed that if something was not accurate then the student would isolate the issue and create a practice spot out of it. I was wrong on this because over and over again I heard my students plow over obvious inaccuracies in their interpretation ((((((Deep Exhale from Me)))) The other part of this humbling lesson is that I had first heard about doing this years ago but delayed implementing it. I regret this because had I done this in past years my students would absolutely be having a higher success outcome with their efforts. I will know at the end of April if I am accepted into nursing school. If so then this will be my final 9 weeks of violin teaching from a 20+ year career. Better late than never but hopefully by passing this along here you can carry the torch and watch your students practice to best serve them and nurture their gifts. The following is an extreme statement but I think the sentiment will be heard: It DOES NOT MATTER how great of a teacher you are and it DOES NOT MATTER how talented your student is. IT MATTERS how they interpret the lesson information and practice in their own space and time. The only way to check in on this is to actually watch them practice. We want to hear from you and know how you help your students reach their highest potential.
Please add to this conversation by sharing a comment on the blog or youtube videos. I love working with strong willed children because I know that what comes out on the other end is a passionate musician and a human being with vision and resolute - all things I value. I am also human and when my sweet 5 year old student came to 10 lessons in a row this winter with only a big "NO" I began to question my teaching approach since things appeared to be stagnant and I was not confident I was actually helping her. In this 3 minute video titled: "No, No, No!!!! Tips for Working with Strong Willed Children" learn 4 things:
BTW - Immediately after making this video the mother texted me a practice video of her daughter who was in the process of doing her assignment 110x that day! Wow, that is exactly why we never quit before the child! How do you help your child or student when they are expressing a strong "NO"? Please share in the comments below, thanks! Welcome to my little video titled "Mini Toilet Plungers (+ FUNNEST Way Ever to Teach Pizzicato & Harmonics!)" in just 2 minutes and 26 seconds I share the funnest way ever to teach left hand pizzicato or harmonics + some fantastic philosophy & resources to help your students reach their potential and keep your creative juices flowing. You will learn 3 things in this video:
"Hey? Where can I get these cute plungers?" They are called Party Plungers and on Amazon for about $9 (click this link to find). What do you do to add creativity and fun to your teaching? Please let us know in the comments below, thanks! |
AuthorHi! It's me, Heather. I absolutely love working on the Music for Young Violinists project and all the many facets: blogging, website, music, teaching materials, freebies, videos, newsletter and giveaway contests. The best part is connecting with you so feel free to drop me a line. You can learn more about me on the "ABOUT" page. Thanks! Archives
January 2018
Categories
All
|
||||||||||||


 RSS Feed
